How to Scan Receipts for Expense Tracking (And Actually Use the Data)
Turn paper and photo receipts into useful expense records. A practical guide to receipt scanning, categories, and month-end reviews.

Thermal paper fades. Memory fades faster. Reconstructing last Tuesday’s grocery total from a vague sense that “it wasn’t that much” is not a finance system. It’s a story you tell yourself at month-end.
Receipt scanning works when three things are true: capture is faster than walking away, you confirm the fields once, and the expense lands in a category you will actually review. Miss any of those and the photo is just another unread item in your camera roll.
A photo is not a record
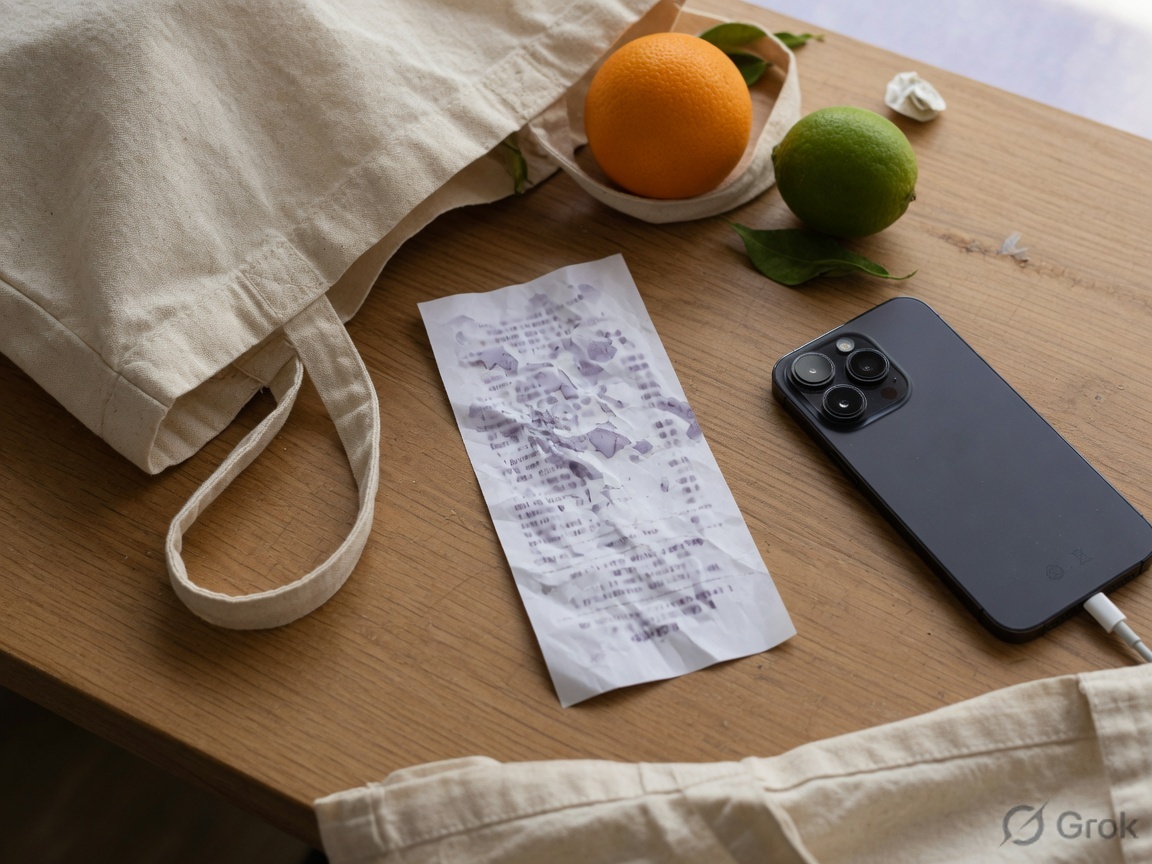
A camera-roll shot is proof that you were at a store. It is not an expense record. The record is structured: amount, date, merchant, and category, with the image as optional backup for returns, warranties, or reimbursement.
Treat OCR as a junior assistant. It is fast, sometimes wrong, and always needs a glance at the bold total before you save. Confirm the total, keep the category short, add a one-word note if the merchant name is meaningless, and move on.
Paper, email, and restaurant light
Email and PDF receipts deserve the same-day ritual as paper. Subscription confirmation emails are especially useful: they prove a recurring charge exists before it becomes a surprise on the statement.
Restaurants fight photography with folds, dim light, and thermal ink that ghosts by morning. Capture the total line first. If the photo will fail, type the amount before you pocket the slip.
Checkout workflow
Build a sequence you can run tired, with bags in one hand:
- Step aside so you are not blocking the next person.
- Capture the receipt before it goes in a pocket or bag.
- Verify the OCR total against the bold number.
- Pick a short category, do not invent a new one in the aisle.
- Add a one-word note only if the merchant is opaque.
- Save and leave.
Skip hero photography for tiny taps you already logged. For split bills, one scan plus a share note is enough; you do not need four angles of the same pizza.
What the scans are for later
Capture is only half the job. A month of structured receipts lets you:
- Sort by merchant to catch double charges.
- Sort by category before you set any limit.
- Export a clean packet for reimbursement.
- Keep warranty proof without a shoebox.
If you keep skipping the scan, log the skip for a week. The usual cause is full hands. The usual fix is a voice fallback for the total, then attach the photo when you sit down, not a lecture about discipline.
If you skip the scan for a week, write down the actual reason once: full hands, dim light, or “I’ll do it later.” Fix that one cause. Voice the total when your hands are full; type the amount when the photo will fail. Do not add a new app until the checkout sequence runs on a tired Friday.
If you want software built around fast capture, receipt photos, voice entry, and offline logging, TrackMyExpense is designed for that on iOS and Android. Keep any tool that protects the habit.
More guides on spending, budgets, and habits live on the TrackMyExpense blog. Exploring apps? See the expense tracker app, receipt scanner, or home page.